
Hi. Welcome. I am so very
happy that you decided to stop by for a visit.
This is part two of a series
where I explain how to use Word to manipulate your photos to make them
Pinteresting. Or really just for fun.
If you missed last week’s
post please click HERE.

As a recap:
I’ve read quite a few blog posts lately with
instructions for PicMonkey. It seems to be very popular with most bloggers.
I personally haven’t used it. When it comes to photos
or images, Microsoft Word and Paint have all the features I need. I’ve used these programs for a lot of years
so I was glad to be able to find a laptop that at least had the Starter version
already installed.
So, for all those bloggers out there who also have
Word and Paint, or are considering getting those programs, I am going to show
you what they can do.
Today we are removing the
background from a picture.
There are several reasons you
may want to get rid of a pictures background or actually change it. Maybe there
are too many distractions from your center of interest. Maybe you want more
impact or less.
Anyway, I’m sure you’ll have
a reason to get rid of it. So here we go.
Insert a Picture
Click on the Insert tab then on the Picture icon. Find your picture and insert.

Remove Background

You will see a new tab appear at the top of the page that says Picture Tools and Format.
In
the left corner is the Remove Background button. Click on it.

Your photo and screen will
look like Diagram 3.
You will need to make a few adjustments to customize your photo.
As you can see I need to remove some areas and add some in.
You will need to make a few adjustments to customize your photo.
As you can see I need to remove some areas and add some in.

I
start by pulling the frame of the picture out to the edge of the photo as seen in Diagram 4.

Now
you will mark areas right on your picture that you want to keep and other areas
to discard.
Look at the top left of the window. There are plus and minus signs.
Click on the plus sign to add more areas to keep. Then click on the area you want to keep on your photo.
Do the same with the minus sign.
Diagram 5 to see the plus and minus signs that I had to add to my photo to get the areas I wanted removed.

Click anywhere away from your
picture to see what it looks like.
If you need to make adjustments then go back and click on the Remove Background button to remove or add to your picture.
You can even delete a mark when you have to.
If you need to make adjustments then go back and click on the Remove Background button to remove or add to your picture.
You can even delete a mark when you have to.
Now what? You have no
background. There are a couple of things we can do.
Add a Border
The first is to put a border around the picture – it looks a little weird right now.- Click on your picture to select it.
- Click on the Picture Tools Format tab.
- You have loads of options here.
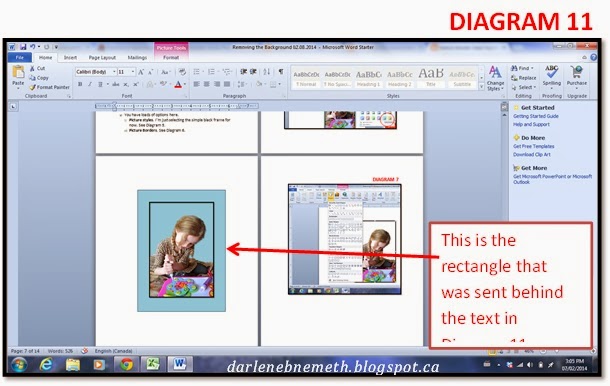
- Picture styles. I’m just selecting the simple black frame for now. See Diagram 7.
- Picture Borders. See Diagram 7 & 8.
- Color
- Weight
- Dashes
- Picture Effects. See Diagram 8.


Insert a Background


Oh boy. Look what I did. I was only going to show you how to remove the background in your photo but I have also showed you how to add a new background and add a border. Sorry about that. Maybe next time I will be able to keep to the topic that I choose. No wonder it takes me so long to write a blog post. I go over board with the information.
Was that too much info for one post?
Was that too much info for one post?
Well that's it for this week's tutorial. Next week I'll show you how to add text to your image.
What program do you use?
***************************

I was featured at Momma’s Meandering Mondays 33.
Saying, “Most of us are familiar with Office software, but I wonder how many know just what it’s capable of? I rarely used MS Word for more than typing a memo, so to find out I could use it to edit photos like a boss was exciting.”
Thank you so much Lydia, for making my day.
Well thanks for stopping by. I hope you enjoyed reading this post.
***************************
 A great big thank you goes out to the hosts of the Four Seasons Blog Hop for featuring this post.
As always, I am grateful and thrilled.
Check out their sites:
- Terri/Shawna - Easy Life Meal & Party Planning
- Betty - Loosing My Gut While Gaining My Insanity
- Kenneth - Guai Shu Shu
- Lynn - Turnips2Tangerines
- Sandra - Scruptilicious4You
***************************
And don't forget to stop by my Etsy Shop, Little Shop of Treasures or check out a few other posts.
If you would like to receive my blog updates please subscribe via email or follow me on Twitter, Pinterest or Blog Lovin.
I look forward to reading your comments. Make our day and leave one! We all learn and grow together when we share!